Tag: healthy dessert
-
Christmas Spiced Banana Bread (Blood-Sugar Friendly)
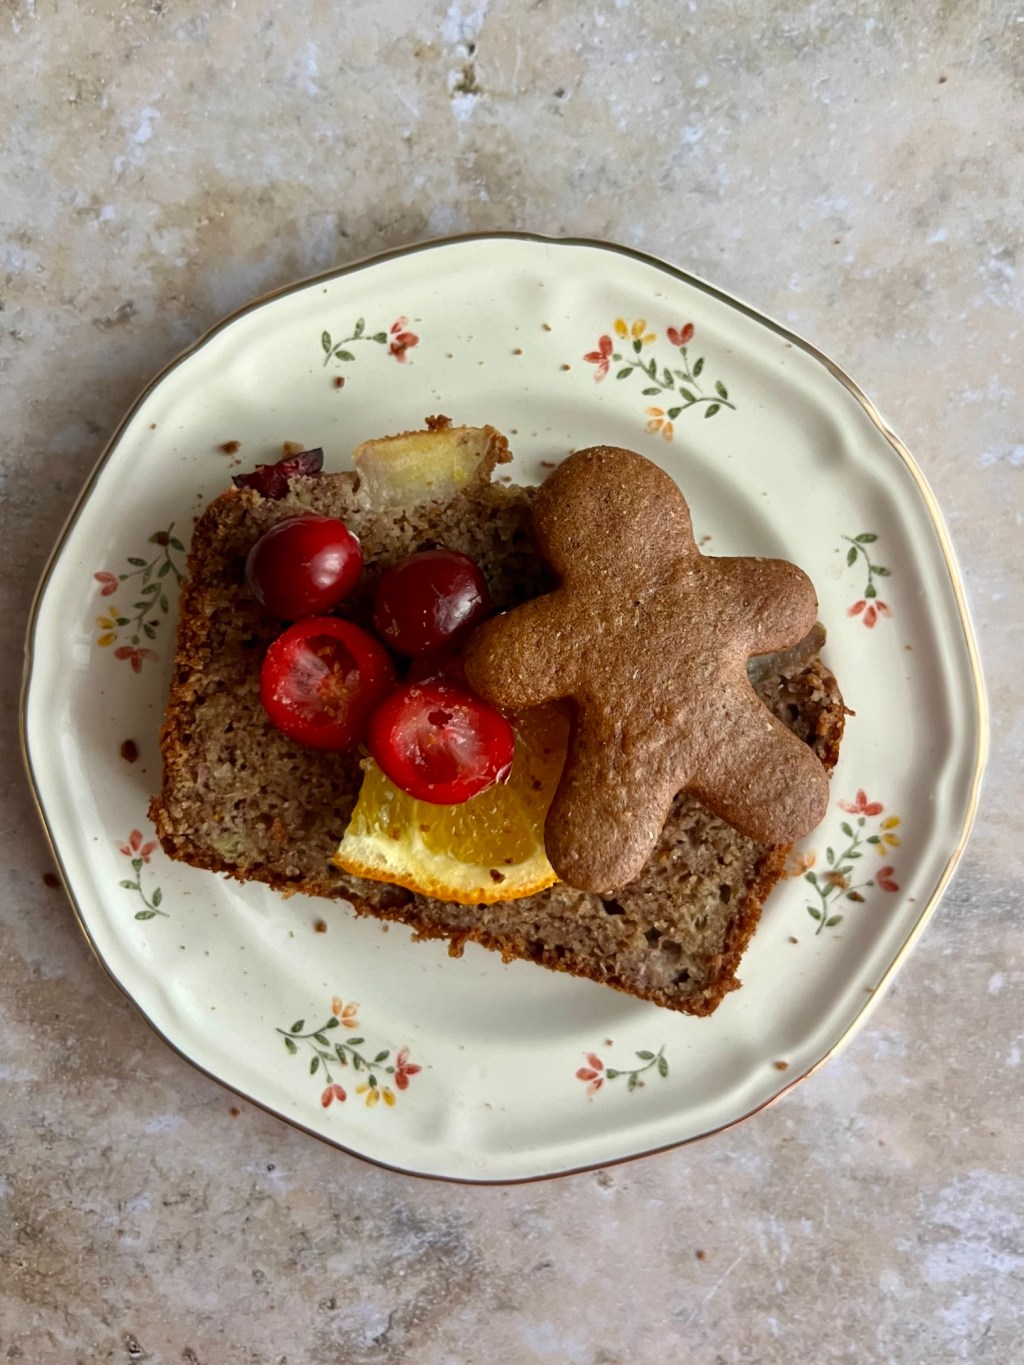
This Christmas Spiced Banana Bread is a healthier dessert option made without refined sugar, featuring almond and oat flours for balanced nutrition. Naturally sweetened with bananas and enhanced by festive spices, it offers sustained energy without sharp blood sugar spikes. Ideal for winter mornings or holiday gatherings, it emphasizes mindful eating.
-
Healthy Almond Blondie with Berries (Gluten-Free, No Refined Sugar)
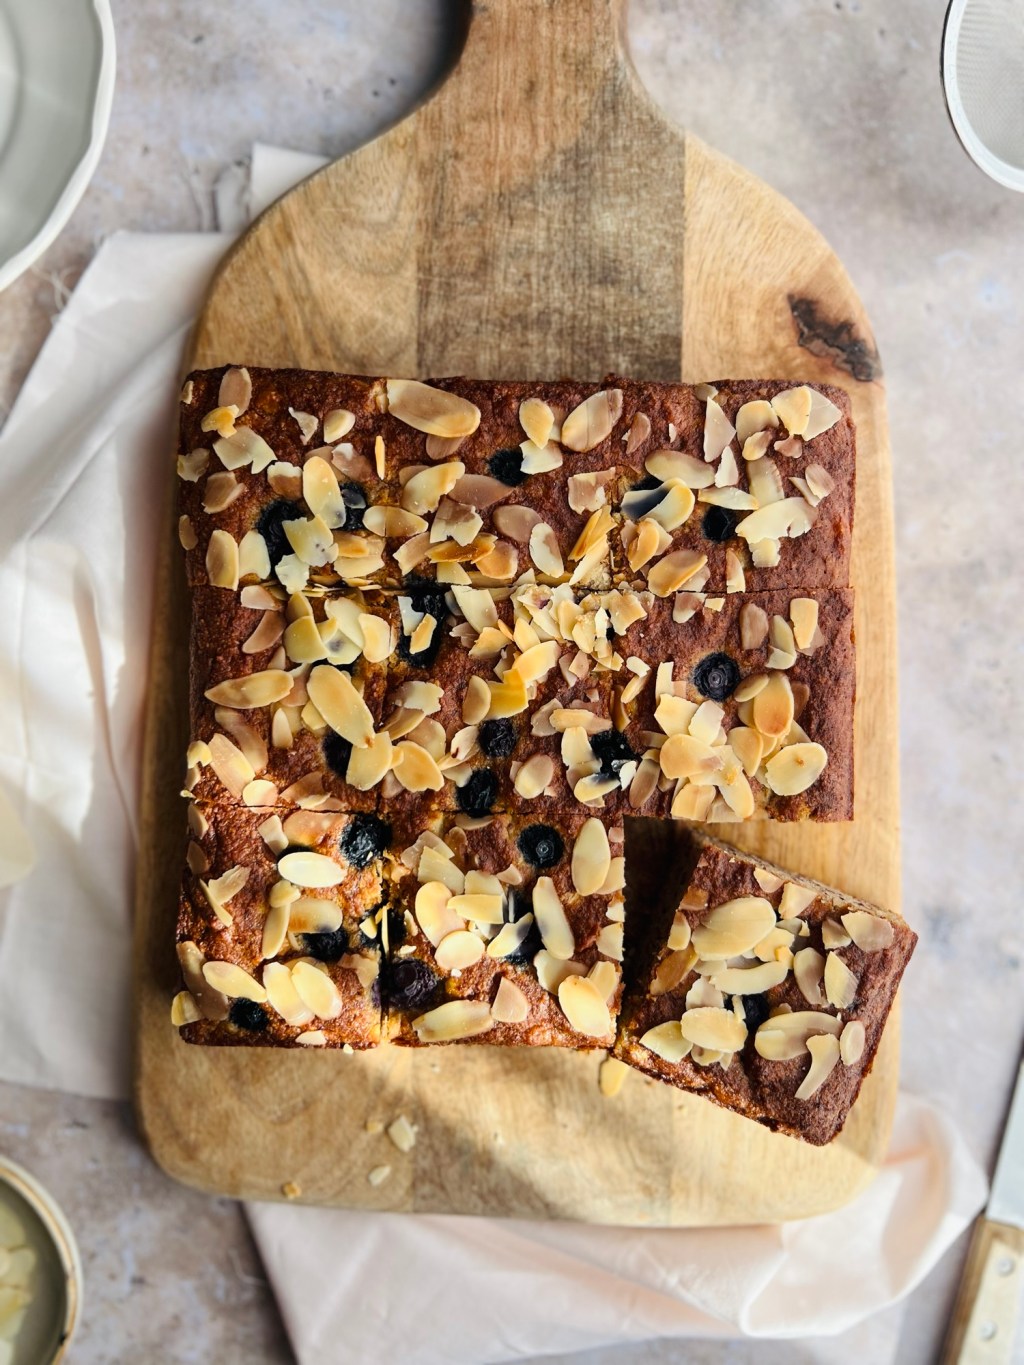
This easy Almond Blondie with Berries is a healthy, gluten-free dessert option resembling a classic brownie. Made with simple ingredients like almond flour and bananas, it’s rich in protein, healthy fats, and fiber. Customizable with various fruits, it serves as a delicious treat, snack, or breakfast choice.
-
Vegan Brownie Cake
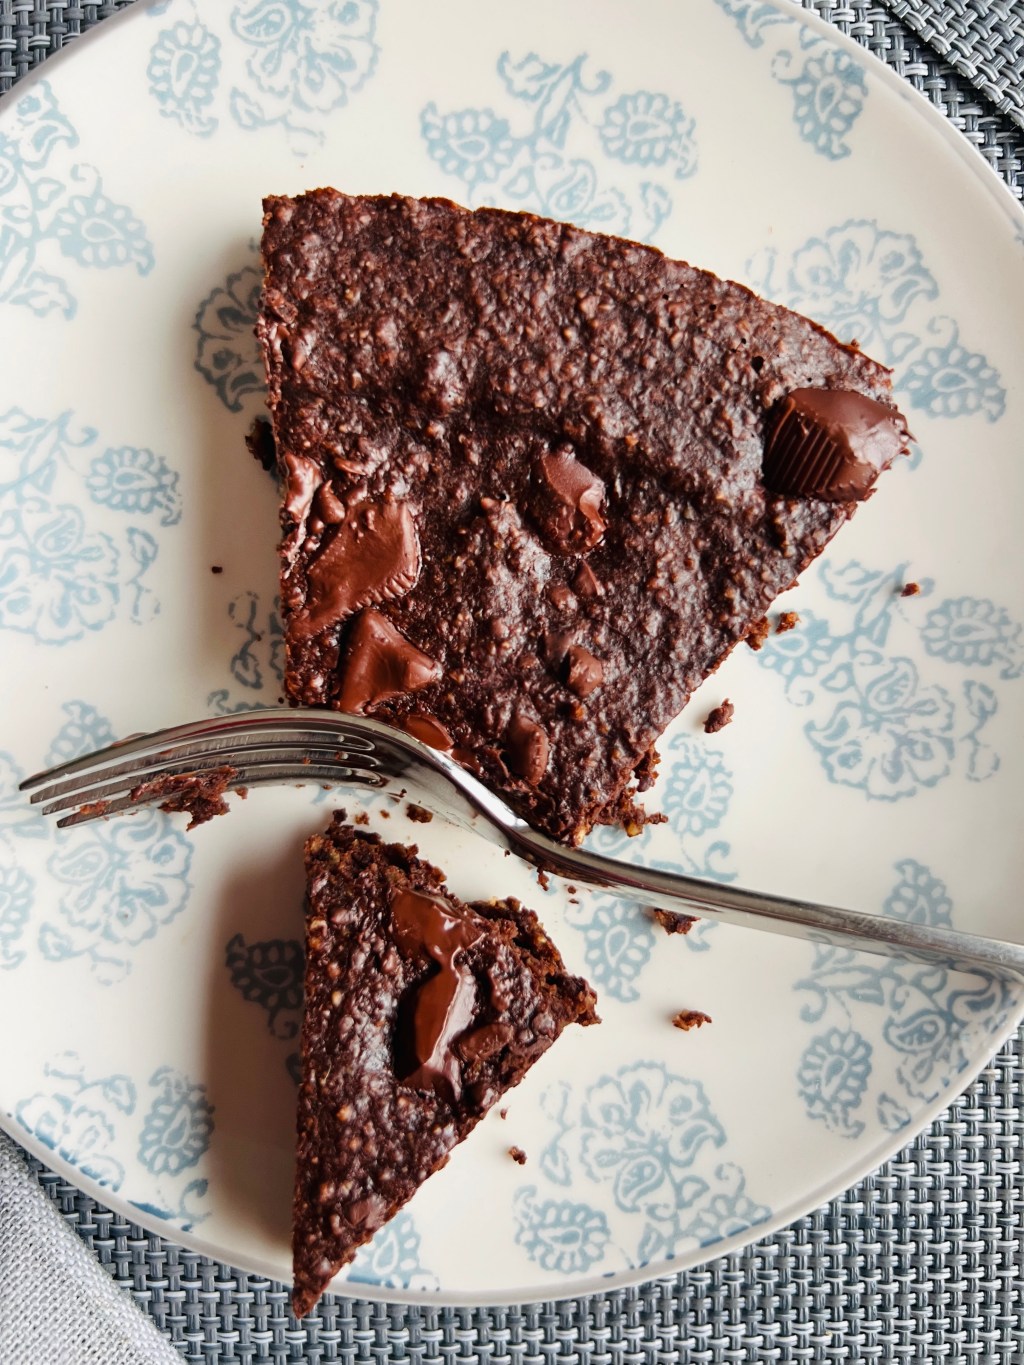
The Vegan Brownie Cake recipe offers a decadent, healthier dessert that’s free from animal products, wheat flour, fatty butter, and refined sugar. The recipe is simple and uses easy-to-find ingredients such as oat flour, coconut oil, and vegan yogurt. It’s a perfect choice for vegan baking needs. This rich, fudgy cake can be dusted with…
-
Healthy Snickers banana Bread

Healthy Snickers Banana Bread is a vegan, gluten-free, and refined-sugar-free delicacy combining ripe bananas, dark chocolate, peanuts, and dates. It’s sweetened naturally with honey or agave syrup and banana, providing a protein kick from nuts. It features nutrient-rich whole grain oat flour, promoting it as a guilt-free snack or dessert.
-
Healthy Zucchini Chocolate Bread
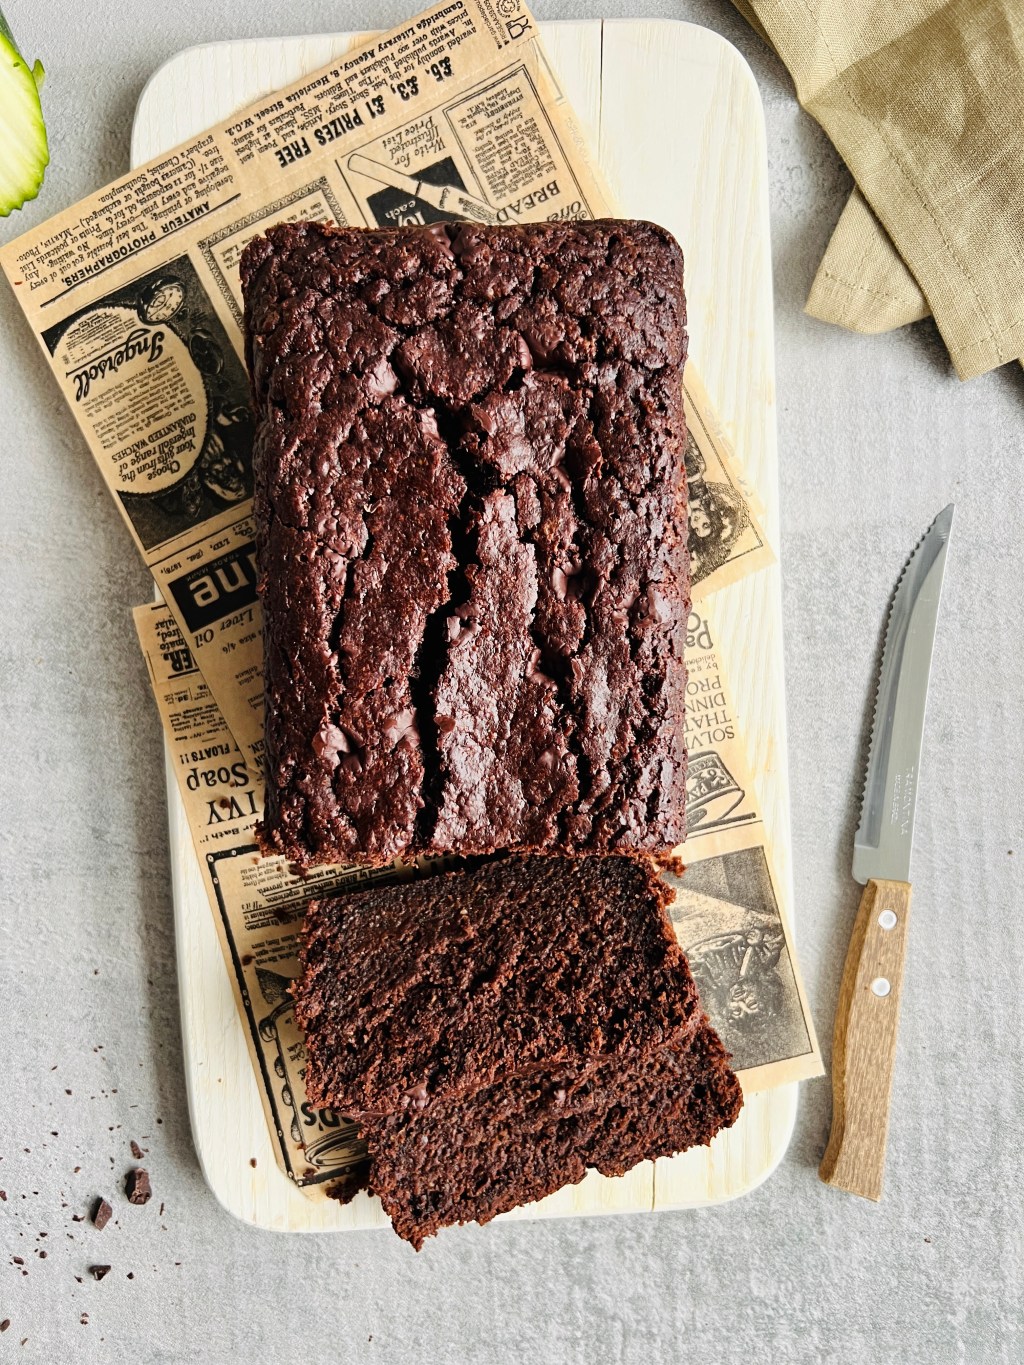
The Healthy Zucchini Bread recipe is a delicious and gut-friendly dessert. It’s vegan, lactose-free, and wheat flour-free, featuring a moist, soft texture with a sweet, deep chocolate taste.
-
Vegan Almond Apple Cake
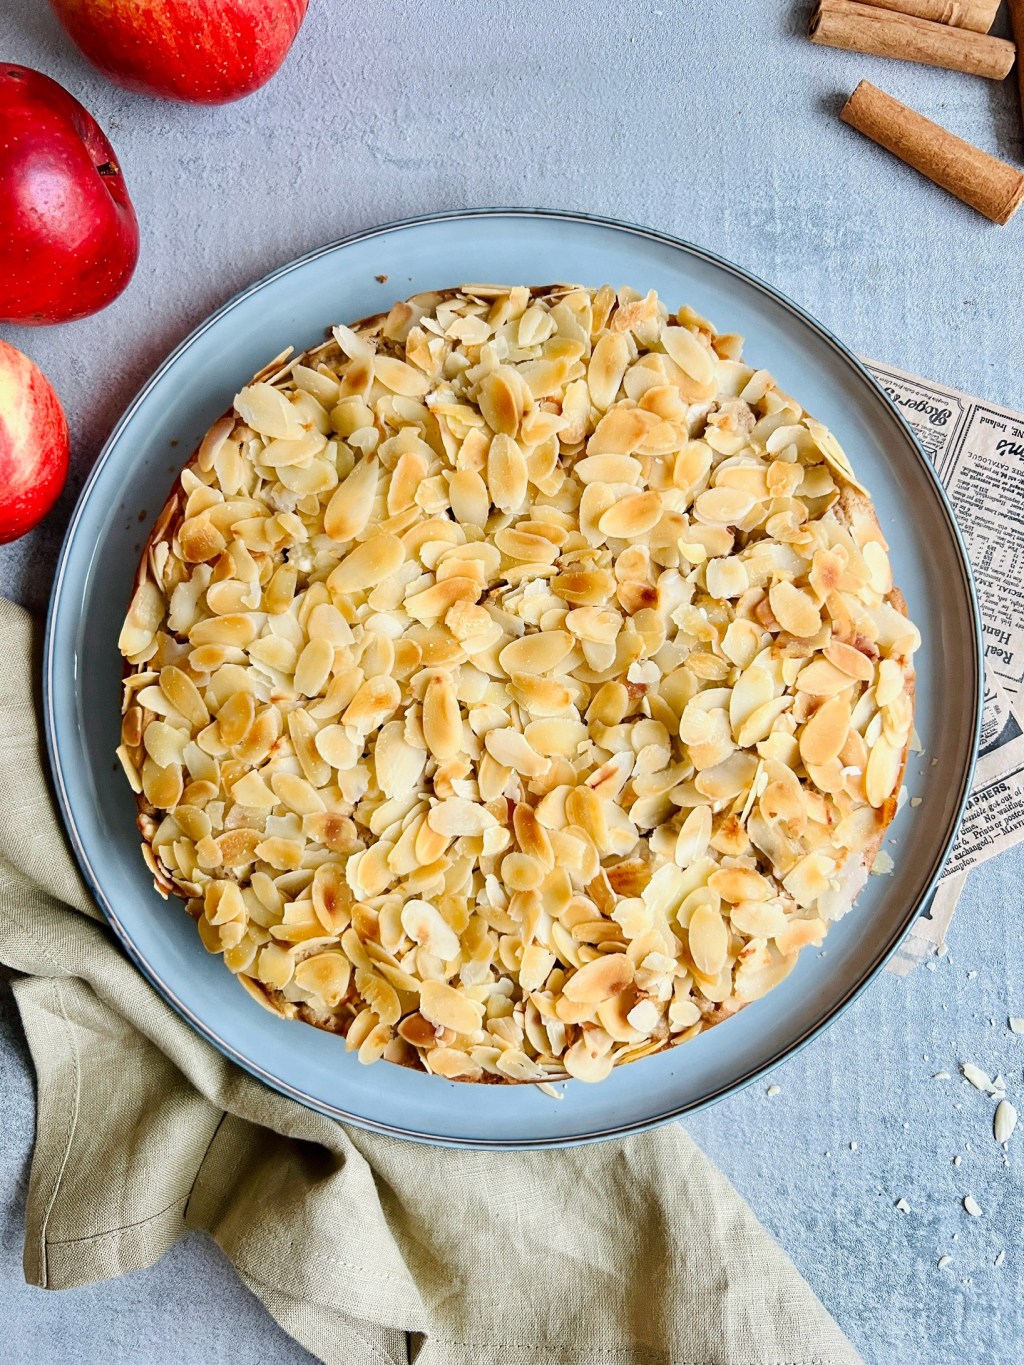
The Almond Apple Cake is a healthy, vegan, easy-to-make dessert of fresh apples and almond flakes. It is lactose, dairy, nut, and heavy cream-free, having a moist yet soft texture. Notably, the cake embraces the warm, comforting flavors of fall and.
-
Vegan Apple Muffins
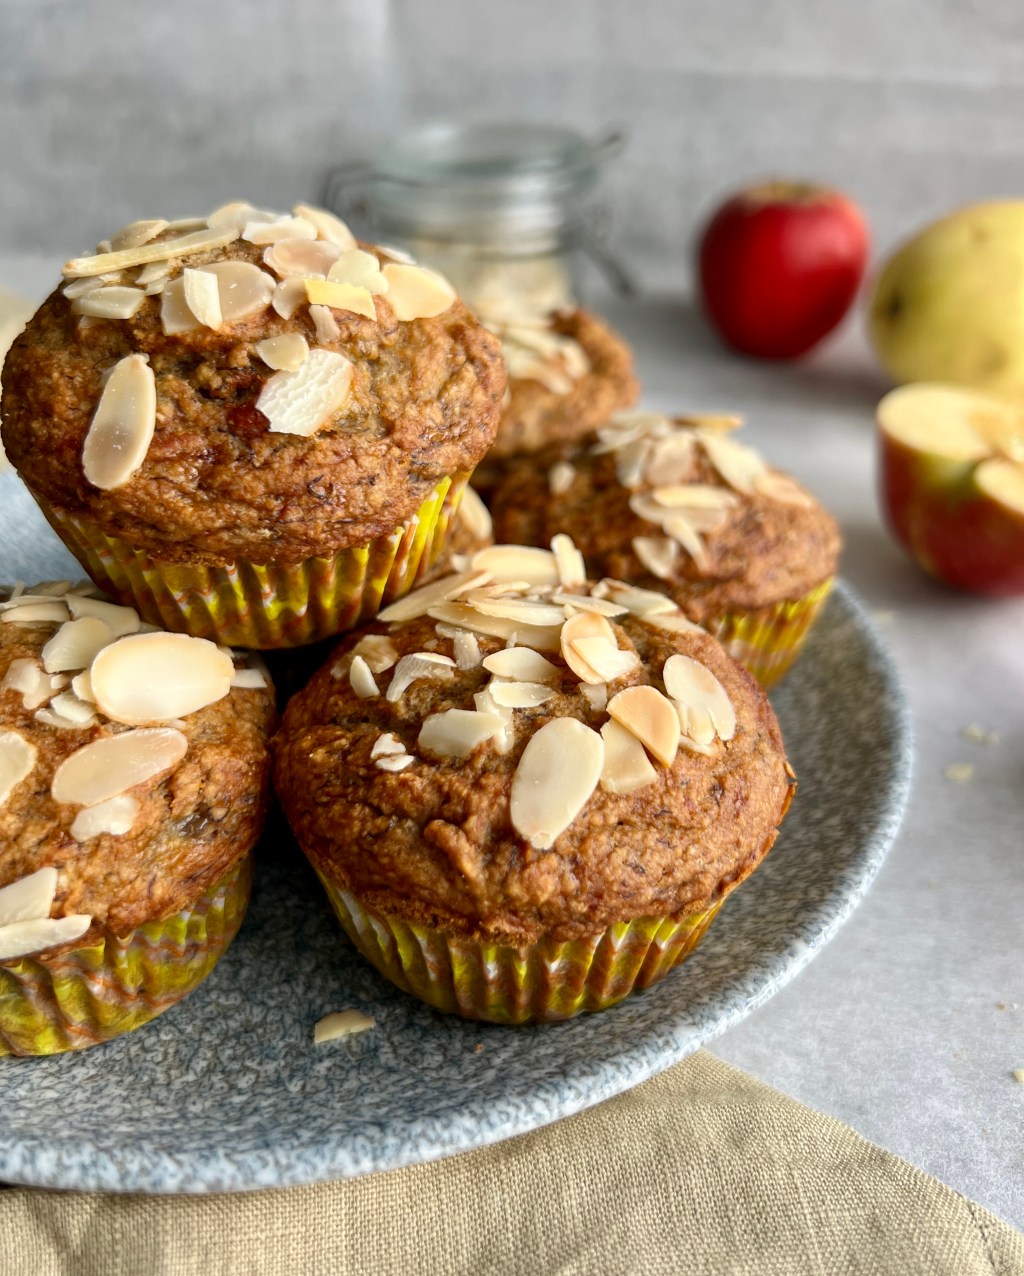
These are easy-to-make Vegan Apple Muffins, perfect as a healthy sweet snack or on-the-go breakfast. They are fluffy, juicy, and packed with autumn’s cozy and spiced flavors. The recipe is vegan, dairy-free, refined sugar-free, and healthier than traditional muffins.
-
Vegan and Sugar-free Ice Cream

Summer is the perfect time to try out homemade ice cream recipes. I have prepared for you super easy ice cream recipe. Just 4 – 5 main ingredients and a blender, that is all you need to make this sweet and creamy ice cream. It’s more healthy than store-bought because it’s refined sugar-free and sweetened…
-
Chocolate-Covered Berry Jam Bites
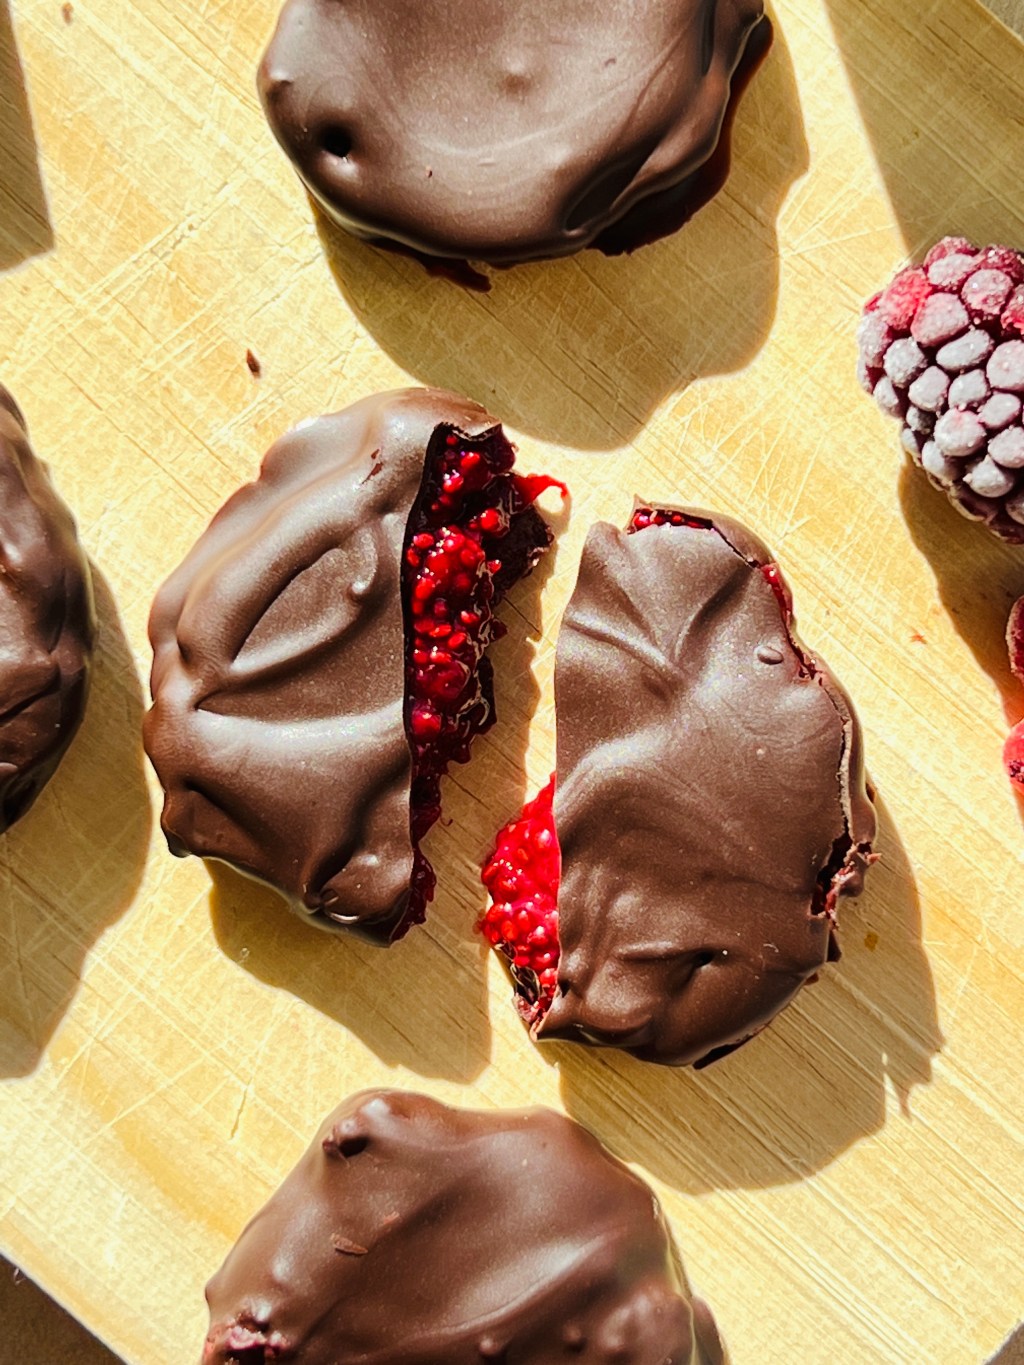
Chocolate-Covered Berry Jam Bites are super easy recipe for a delicious healthy treat, snack, or dessert. You will be in love with these Berry Jam Bites for the first bite.
-
Vegan Tiramisu

Easy Vegan Tiramisu recipe. Vegan Tiramisu is creamy, sweet, and filled with classic coffee flavours and much healthier than classic version of this dessert.
