Tag: Creamy
-
Vegan and Sugar-free Ice Cream

Summer is the perfect time to try out homemade ice cream recipes. I have prepared for you super easy ice cream recipe. Just 4 – 5 main ingredients and a blender, that is all you need to make this sweet and creamy ice cream. It’s more healthy than store-bought because it’s refined sugar-free and sweetened…
-
Chocolate Porridge
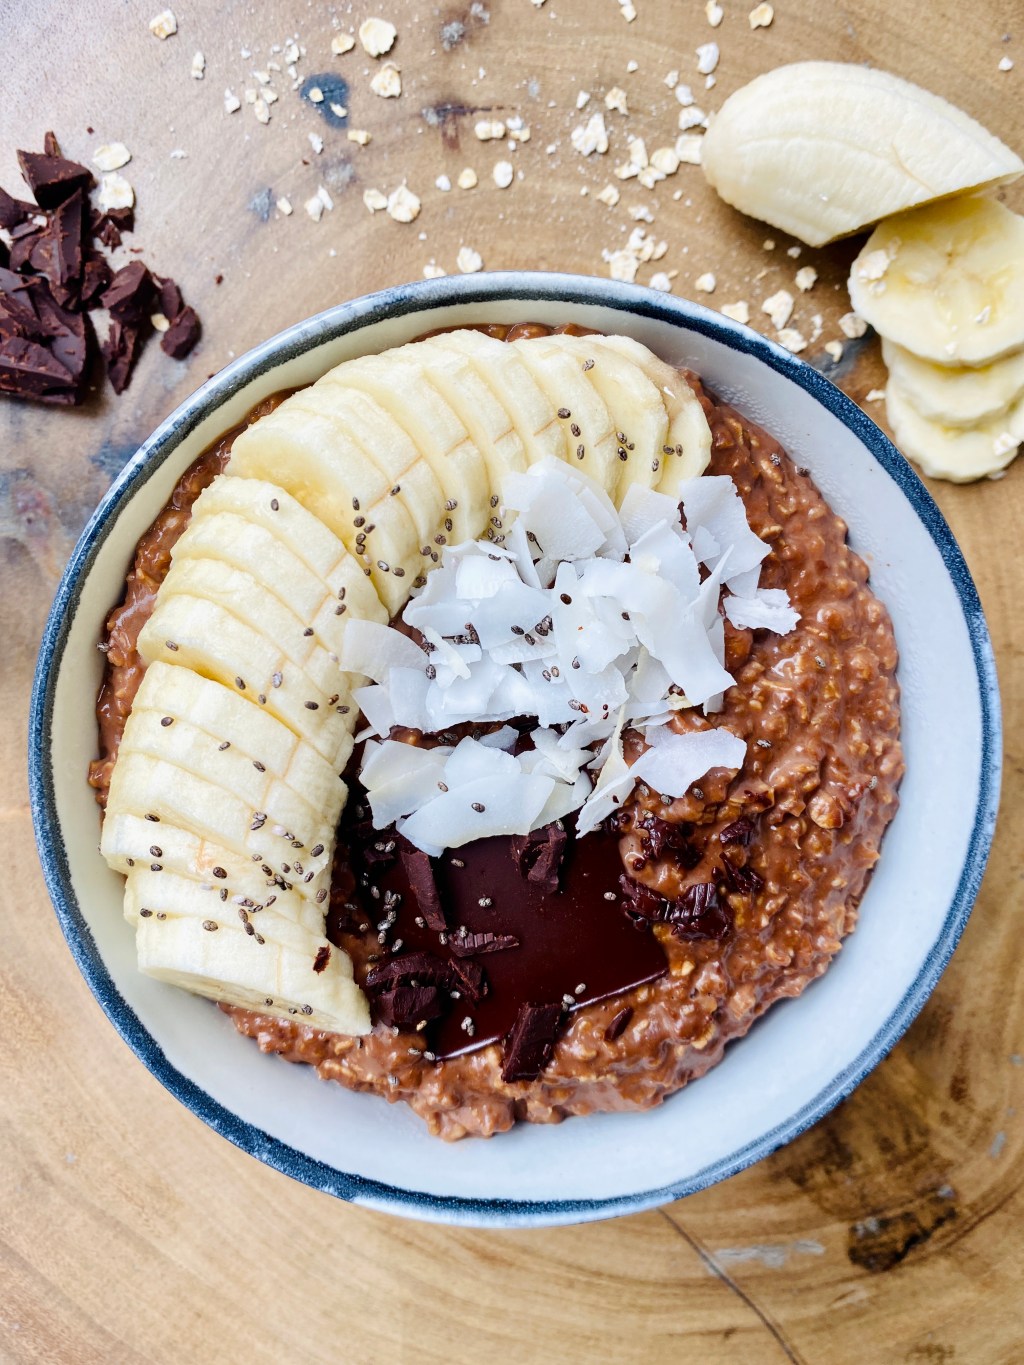
Healthy Chocolate Porridge recipe. Delicious and sweet but at the same time healthy breakfast whenever you want to delight yourself. Easy to make and only take 5 – 10 minutes to prepare.
-
Vegan Tiramisu

Easy Vegan Tiramisu recipe. Vegan Tiramisu is creamy, sweet, and filled with classic coffee flavours and much healthier than classic version of this dessert.
-
Vegan Strawberry Cheesecake (sugar-free)

Creamy and light Vegan Strawberry Cheesecake will be the perfect summer cake for any occasion and celebration. This vegan cake is no-bake, refined sugar-free, and lactose-free. Easy to make with two main tools – blender and small saucepan. What are the ingredients? Which can be replaced? Fresh or frozen strawberries – I used frozen strawberries,…
-
Quick Strawberry Dessert

This Strawberry Dessert have a super smooth and creamy texture, it’s full of fresh strawberries and crunchy cookies. This dessert require only a few simple ingredients and only one tool – hand mixer. You can prepare it the day before to get the most creamiest and softest version of it. Strawberry Dessert is: Airy Light…
-
Healthy Cherry Cheesecake (No-bake)

Delicious no-bake vegan and refined sugar-free Healthy Cherry Cheesecake with a creamy cherry filling, and crunchy cookie base will be the perfect summer dessert. This cake is easy to make, because the main tool is blender where you process all the ingredients. Healthy Cherry Cheesecake with no baking has super creamy filling which sets up…
-
Light Yogurt Lemon Cake

Simple cake recipe with only a few main ingredients. Light Yogurt Lemon Cake is easy-to-bake, creamy, and firm with a fresh taste of lemon. What are the man ingredients? Eggs – This isn’t a vegan cake, and you will need 4 regular eggs.Sweetener – I chose coconut sugar, you can choose your favorite healthiest granulated…
