Tag: easy
-
Healthy Banana Cookies
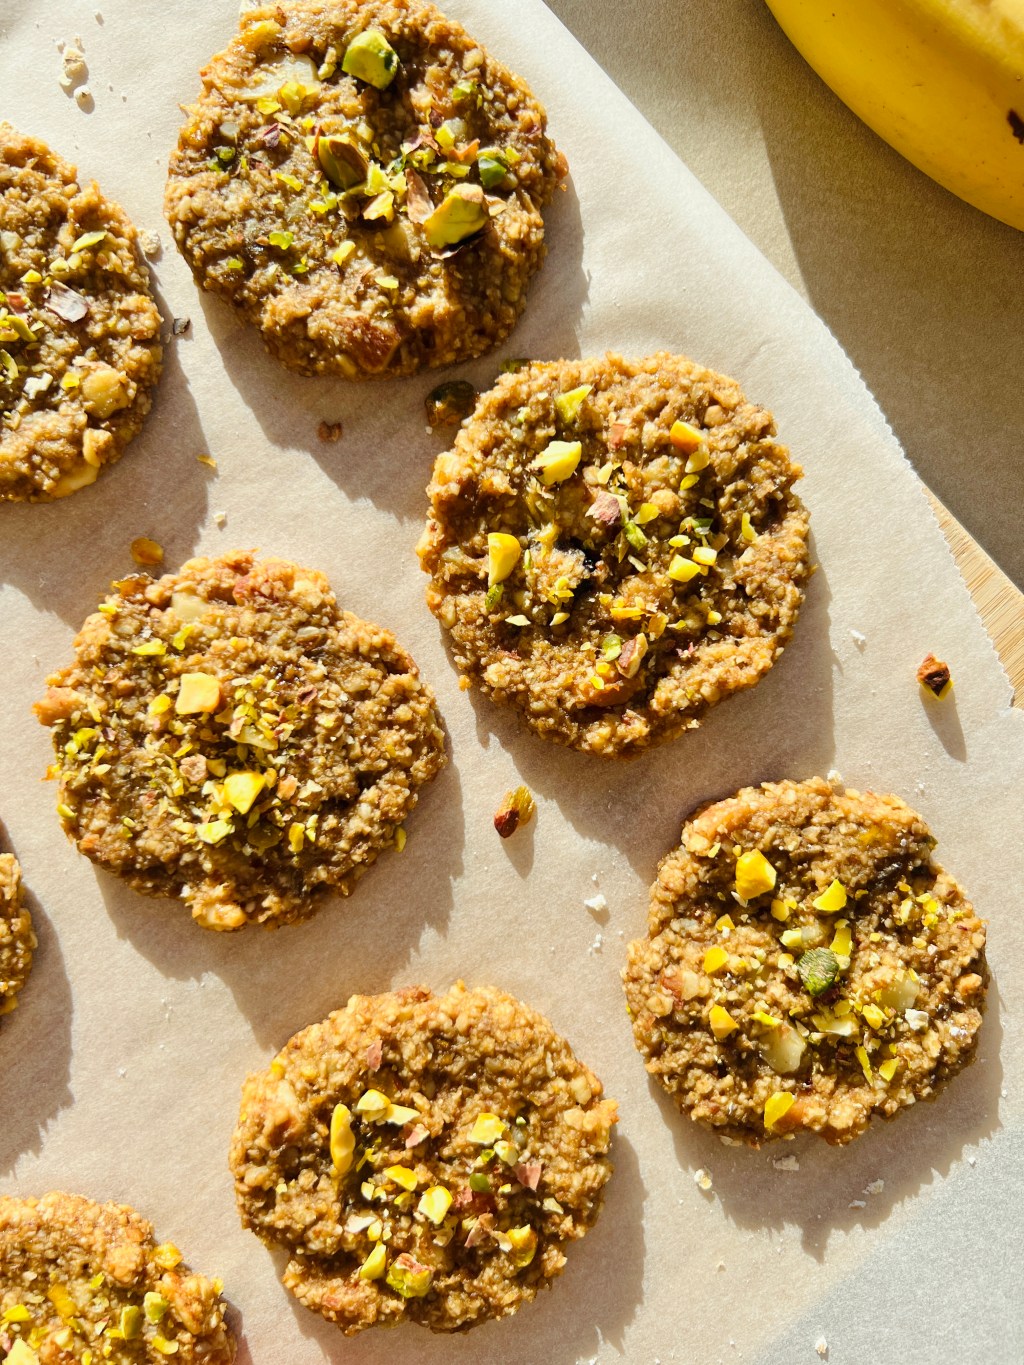
Easy, healthy, and chewy Banana Cookies will be a great daily snack or your new type of breakfast.
-
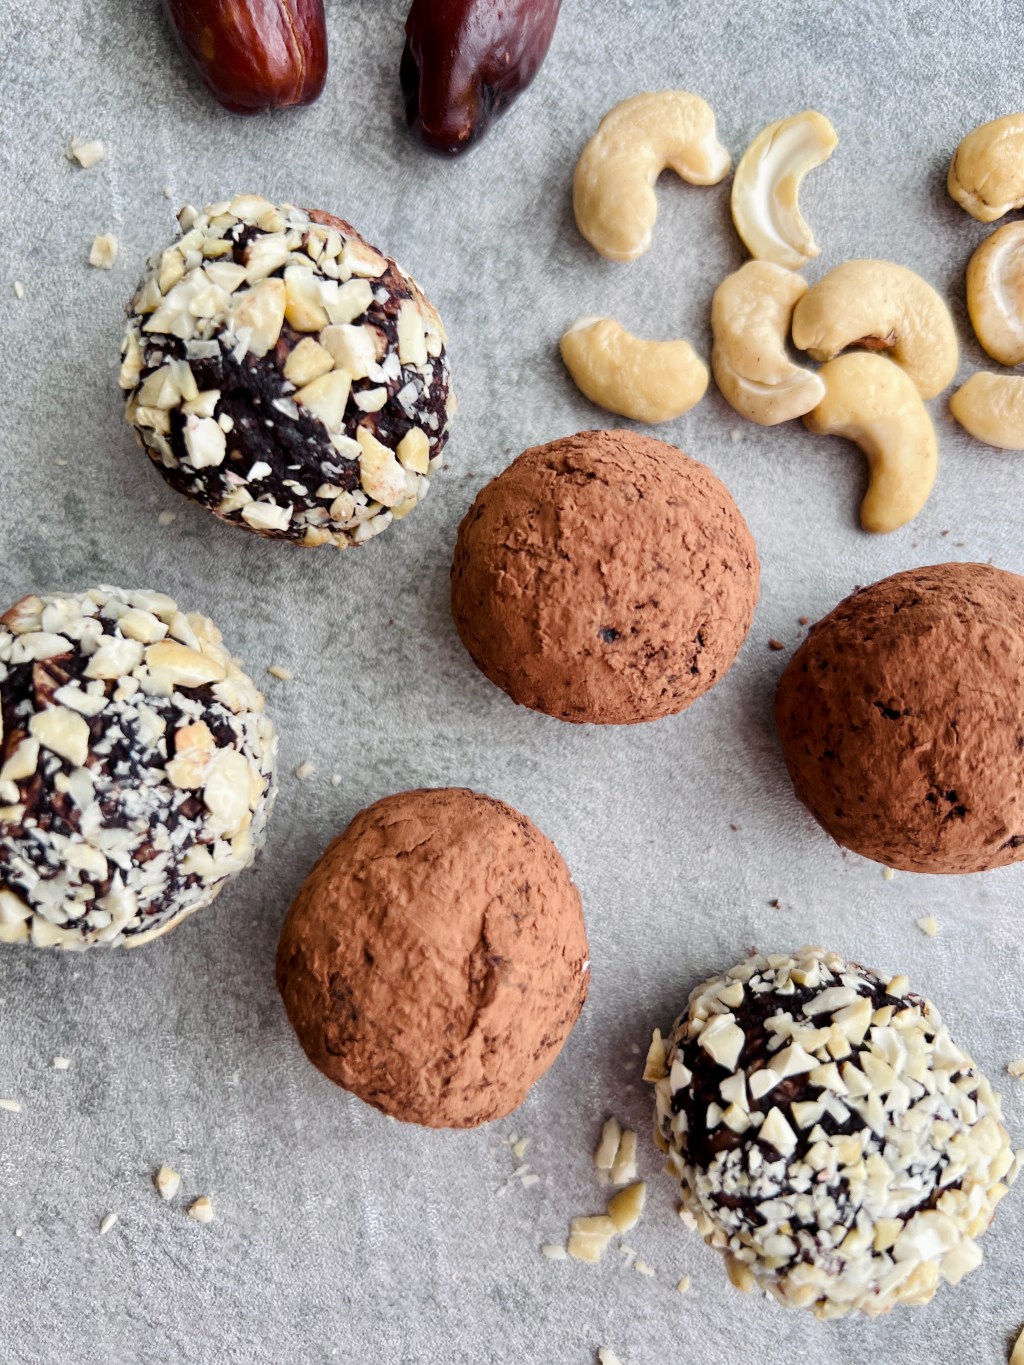
Chocolate-Covered Hazelnut Dates

Chocolate Covered Dates are a healthy alternative to regular sweets. It’s a very easy-to-make and simple recipe with only 4 ingredients.
-
Vegan Tiramisu

Easy Vegan Tiramisu recipe. Vegan Tiramisu is creamy, sweet, and filled with classic coffee flavours and much healthier than classic version of this dessert.
-
Coconut Bounty Bars (sugar-free)

These vegan Coconut Bounty Bars are one of the easiest bars that you can make at home. You can enjoy almost the same taste as the original Bounty bars, but with much healthier ingredients. Only a few ingredients and 15 minutes of your time and you will get coconutty, healthy, vegan grab-and-go homemade Coconut Bounty…
-
Chocolate Banana Bread

Chocolate Banana Bread is soft, moist, vegan, lactose-free, and easy to make if you have left some ripe bananas at home.
-
Juicy Apple Cake (Sugar-Free)

The perfect apple cake – juicy, fruity, and full of sweet apples. The cake is white refined sugar-free, lactose-free, light, juicy, and sweetened with natural sweetener – honey. Easy and super delicious cake for everyone and any occasion.
-
Easy No Bake Energy Balls
4 ingredients and a blender or food processor that is all you need to make these healthy Energy Balls. Quick Energy Balls are the perfect grab-and-go snack whenever you want something sweet. These Energy Balls are full of juicy dates and crunchy nuts, that gives a sweet and crispy taste. This is a guilt-free sweet…
-
Vegan Strawberry Cheesecake (sugar-free)

Creamy and light Vegan Strawberry Cheesecake will be the perfect summer cake for any occasion and celebration. This vegan cake is no-bake, refined sugar-free, and lactose-free. Easy to make with two main tools – blender and small saucepan. What are the ingredients? Which can be replaced? Fresh or frozen strawberries – I used frozen strawberries,…
-
Chocolate Cookies with Hazelnuts

Chocolate Cookies with crispy pieces of hazelnuts and taste of chocolate will be a great snack for any occasion. These Chocolate Cookies with Hazelnuts are much healthier, because they are lactose-free, white refined sugar-free, and wheat flour-free. Enjoy them still warm from the oven with your afternoon tea or coffee. Cookies are such a popular…
-
Healthy Blueberry Muffins

These vegan, soft, and juicy blueberry muffins are very quick to cook and ready in 30 minutes. Great as a healthy snack, dessert with a cup of coffee or tea or breakfast on the go. These Healthy Blueberry Muffins are full of juicy blueberries and soft bananas, very delicious, soft, and fluffy. These muffins are…
